How to Propagate Alocasia Cuprea? (Step-by-Step with Pictures)
Alocasia Cuprea being a rhizomatous plant, its propagation is very easy. In spring, when your Alocasia wakes up from her dormancy, take the plant from the soil, clean it, cut it with a clean and sharp tool, powder the cuts with cinnamon or charcoal to avoid rot, put the cuttings in the soil or LECA (for quicker results), and wait. Water moderately, if in soil. Give it the right nutrient combination, if in LECA. The first sprouts will emerge in 4 to 5 weeks, signaling that the new plant is born.
Propagation of Rhizomatous Plants: General Considerations
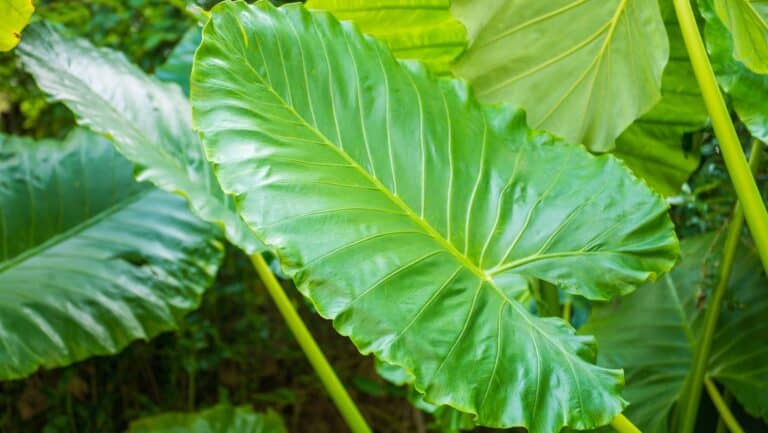
Alocasia Cuprea is a rhizomatous plant, just like ginger and turmeric. A rhizome is a stem that develops underground horizontally. Both roots and shoots grow from the rhizome.
Rhizomatous plants are easy to propagate. However, there are several main principles to keep in mind to avoid killing the mother plant and to succeed the offspring:
- We only propagate adult plants and those that have had time to adapt to their surroundings. Otherwise, the division might impose too much stress on the plant and be fatal to it.
- Do it in spring, when your Alocasia wakes up from dormancy. She will need perfect conditions with lots of light to go through the traumatic propagation process.
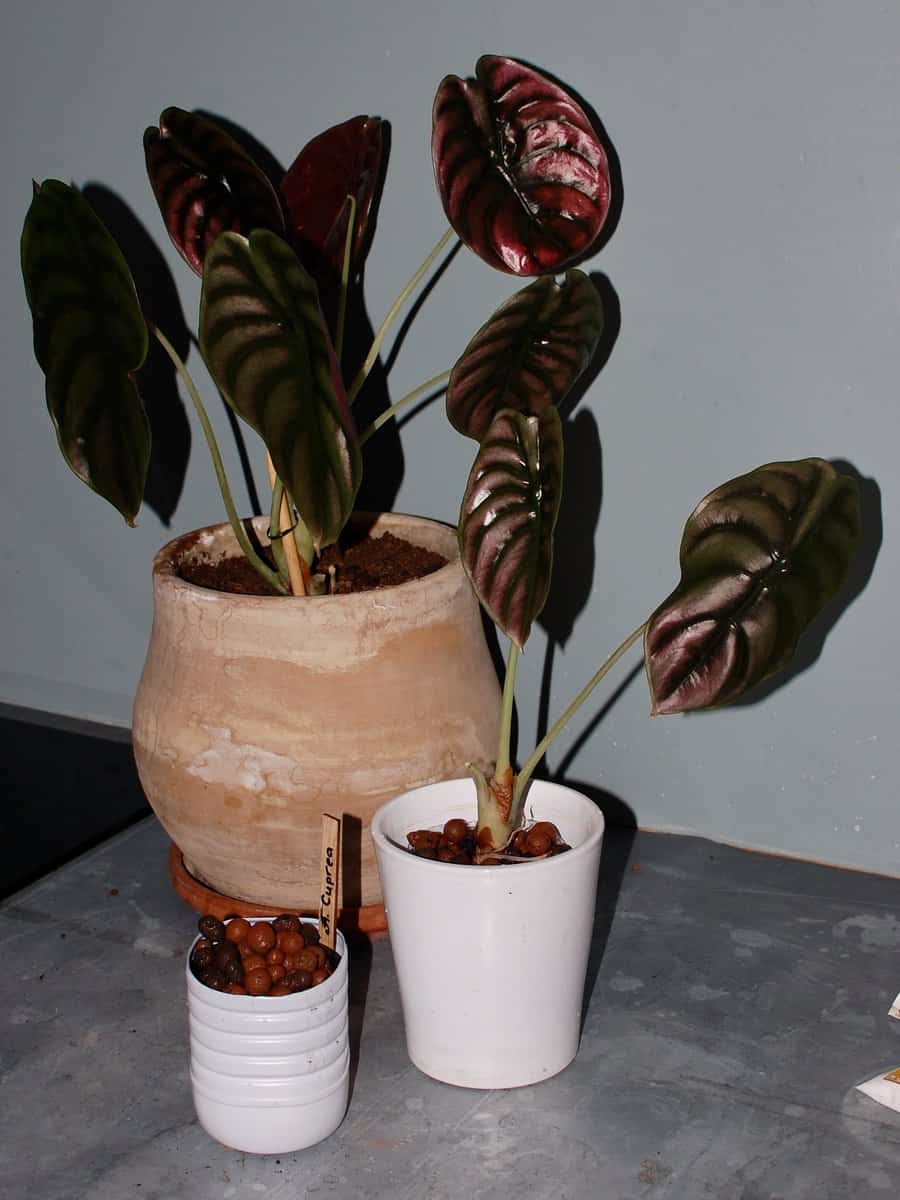
I had two Alocasias sitting together in the same pot. I’ve had them for three years, so they can be considered sufficiently mature and acclimated for propagation.
Step 1. Take it out of the pot
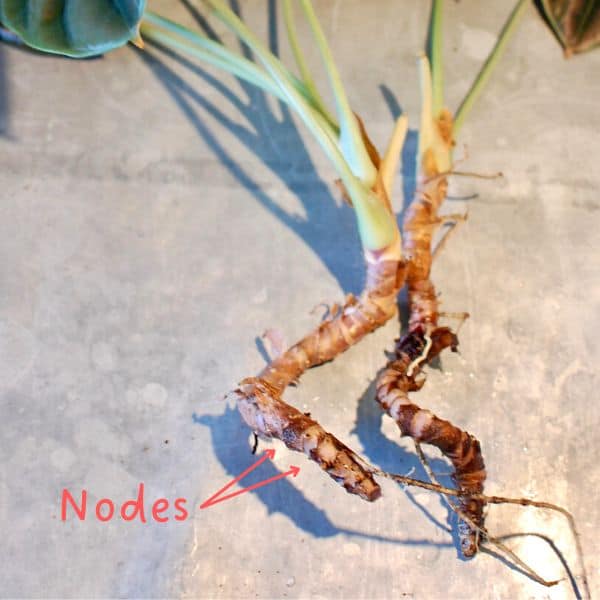
I know, it is evident. To cut the underground stem (aka rhizome), you must first dig it out.
Take the plant out of the pot and clean all the dirt from the roots and the rhizome. Identify the nodes and choose the best place(s) for cutting. Nodes are those places, from which shoots and roots grow. They look like rings on the rhizome. Keep at least two nodes on each piece of the rhizome as it will help the new plant to quickly grow new leaves and roots.
Step 2. Grab the Tool, Make the Cut
Disinfect your cutting tool and make a clean cut between the nodes. I normally use my usual pruning shears disinfected with alcohol.
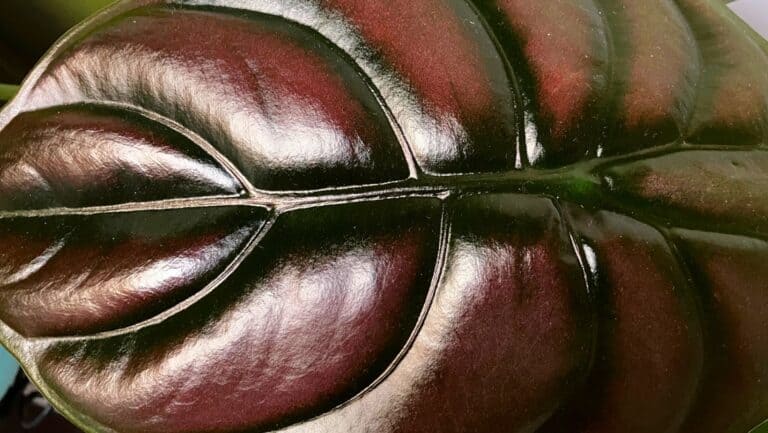
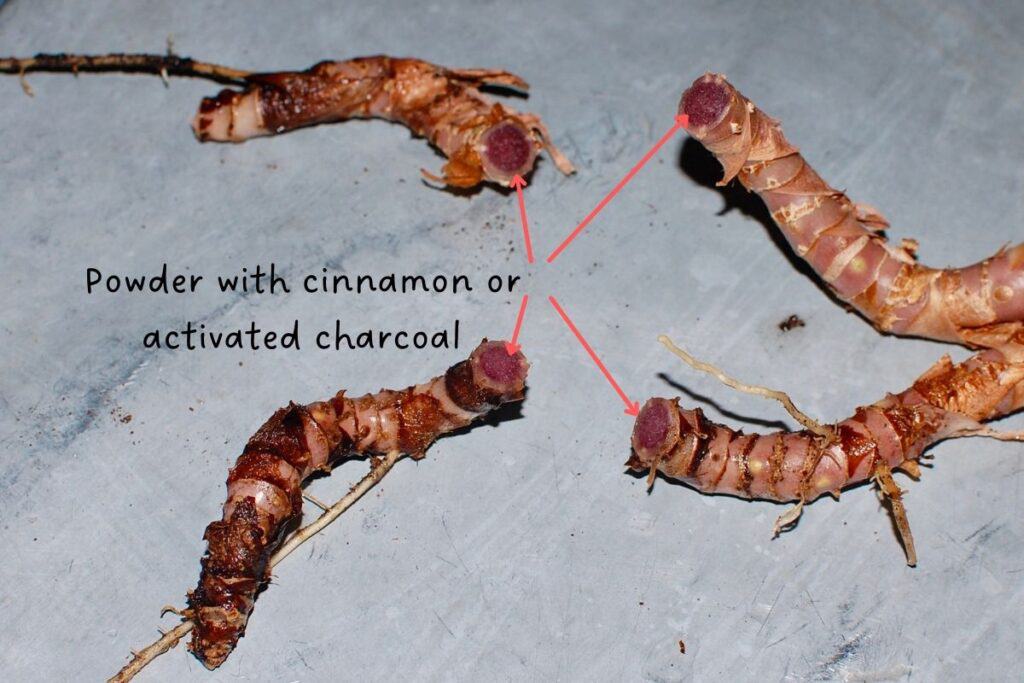
Rhizomes of Alocasia Cuprea have that bloody red core inside. The color might look a little bit scary, but it is perfectly normal.
Step 3. Heal the Cuts
To prevent rot on the exposed cuts, apply a fungicide. If, like me, you are adept at natural remedies, just put some ground cinnamon or activated charcoal on the cuts.
Both cinnamon and activated charcoal have antifungal and antibacterial properties.
Step 4. Plant the Pieces
Plant the divided plants in the media of your choice.
I returned one of the mother plants and its future baby (the rhizome cutting) into the soil. And I planted the other mother plant and its rhizome cutting in LECA. To know more about the experiment with growing two sister plants in different substrates, read this article, in which I share my expectations and actual results of transferring my Alocasia to LECA.

What’s Next?
There is not much to do after Step 4. You just water your soil-planted Alocasias normally. And you apply the normal semi-hydro rituals for those that are transferred to LECA.
The advantage of LECA is that you can actually observe the plant development more closely. I usually disturb my freshly transferred LECA dwellers on a weekly basis to check for root rot and algae and make sure everything is nice and neat. ATTENTION: You don’t do it with plants living in soil!